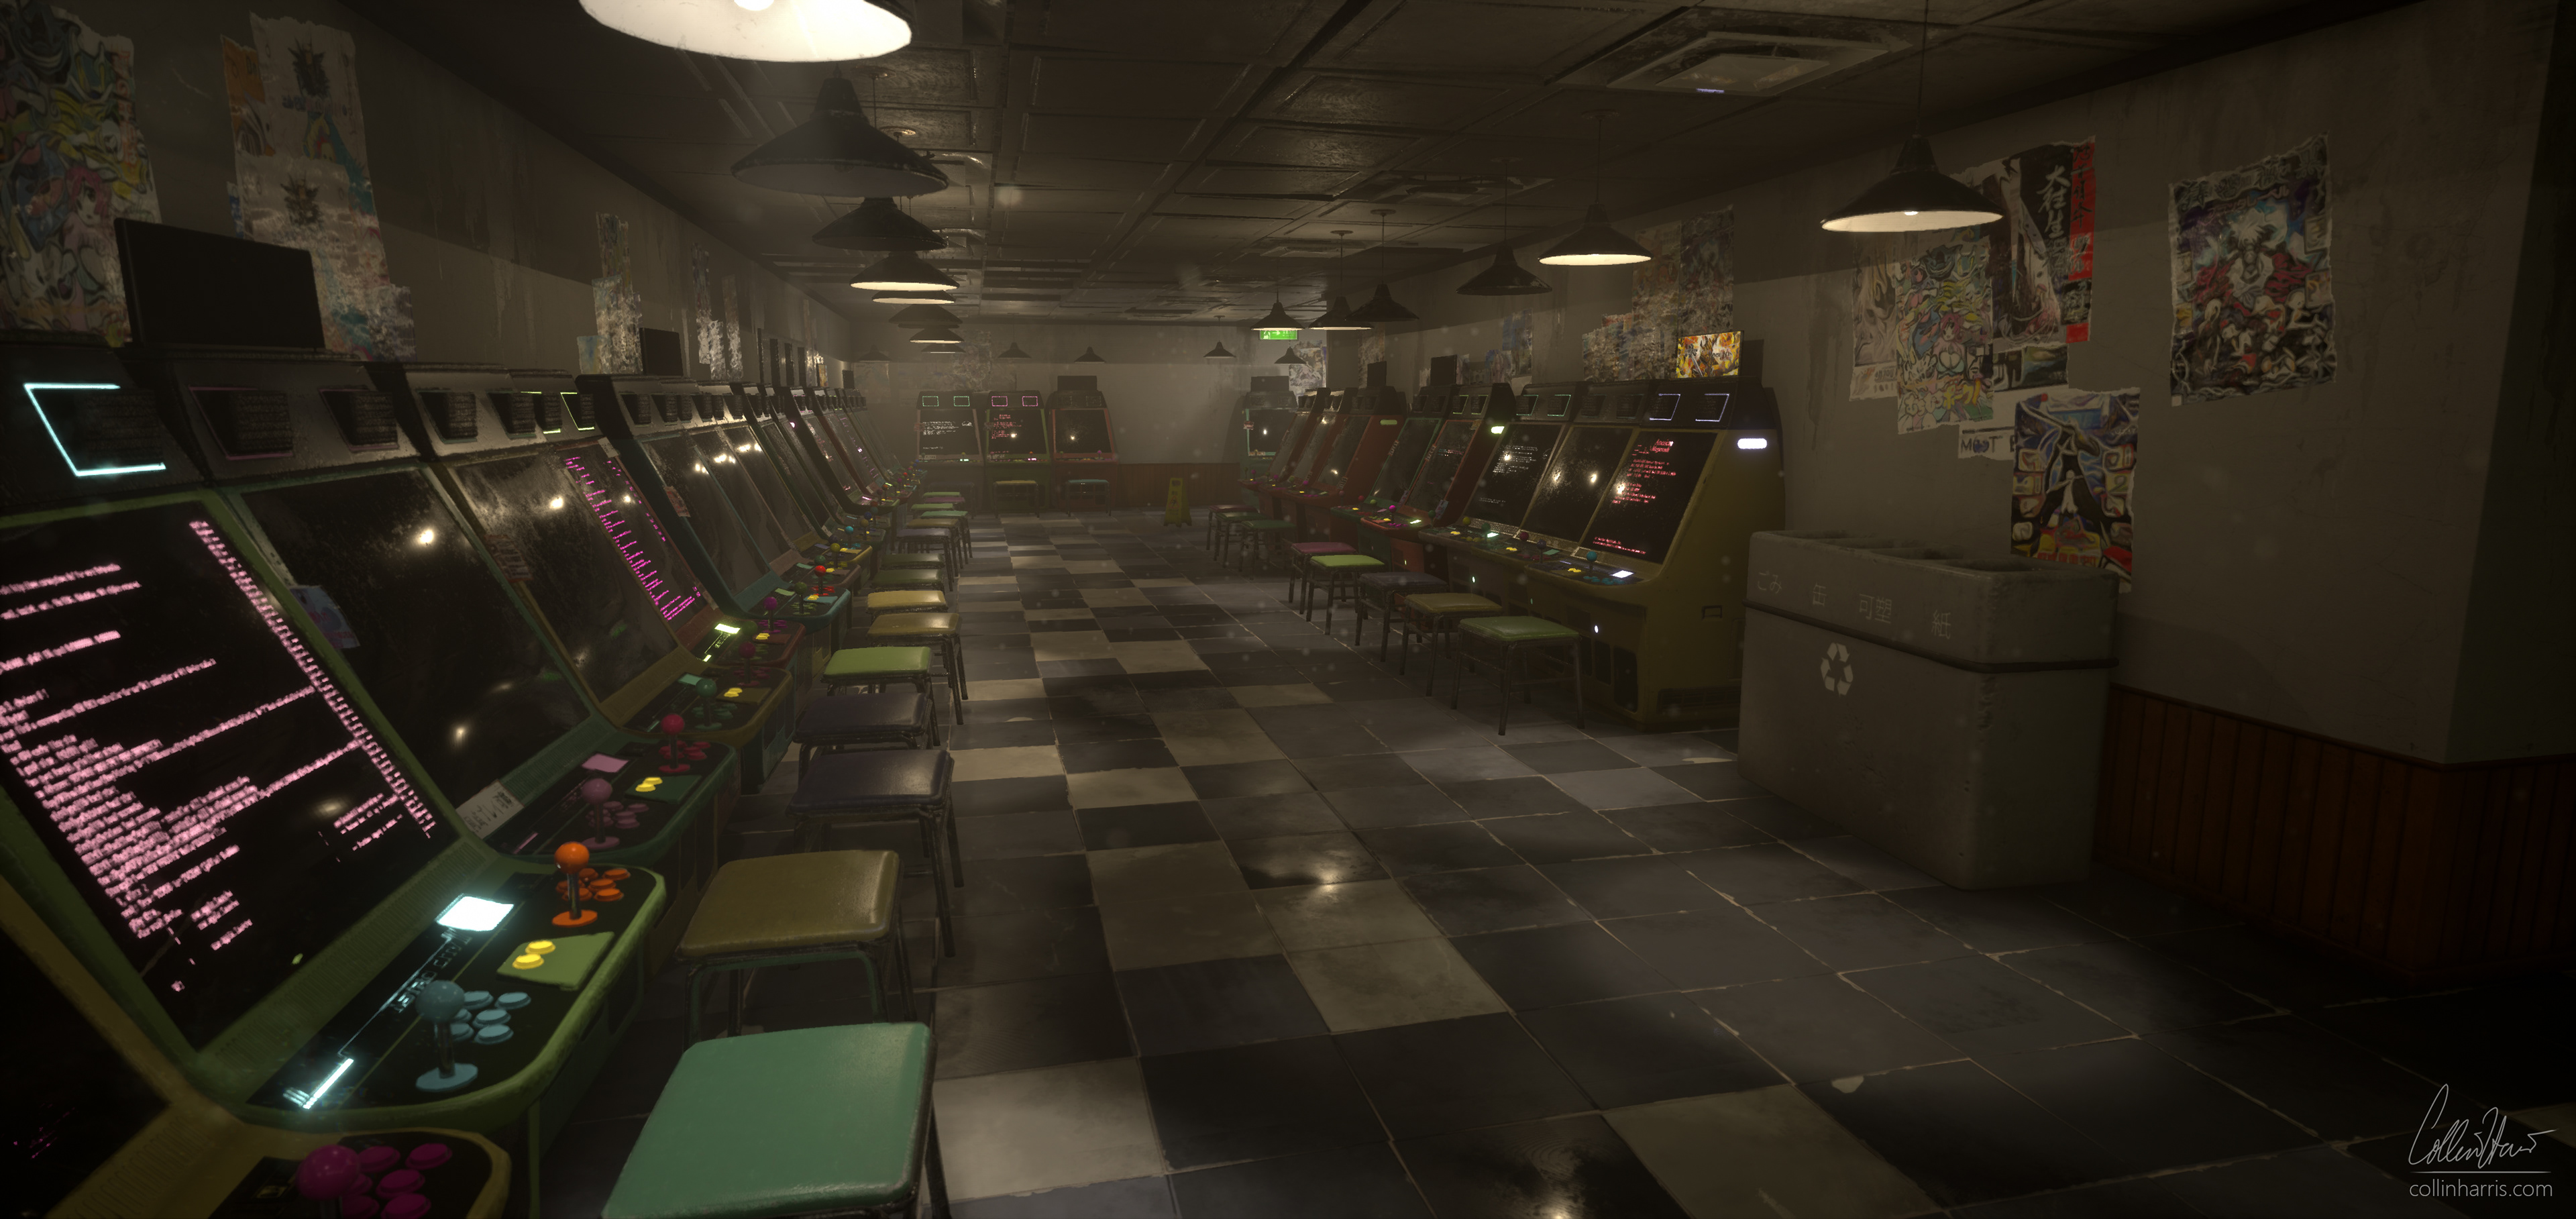
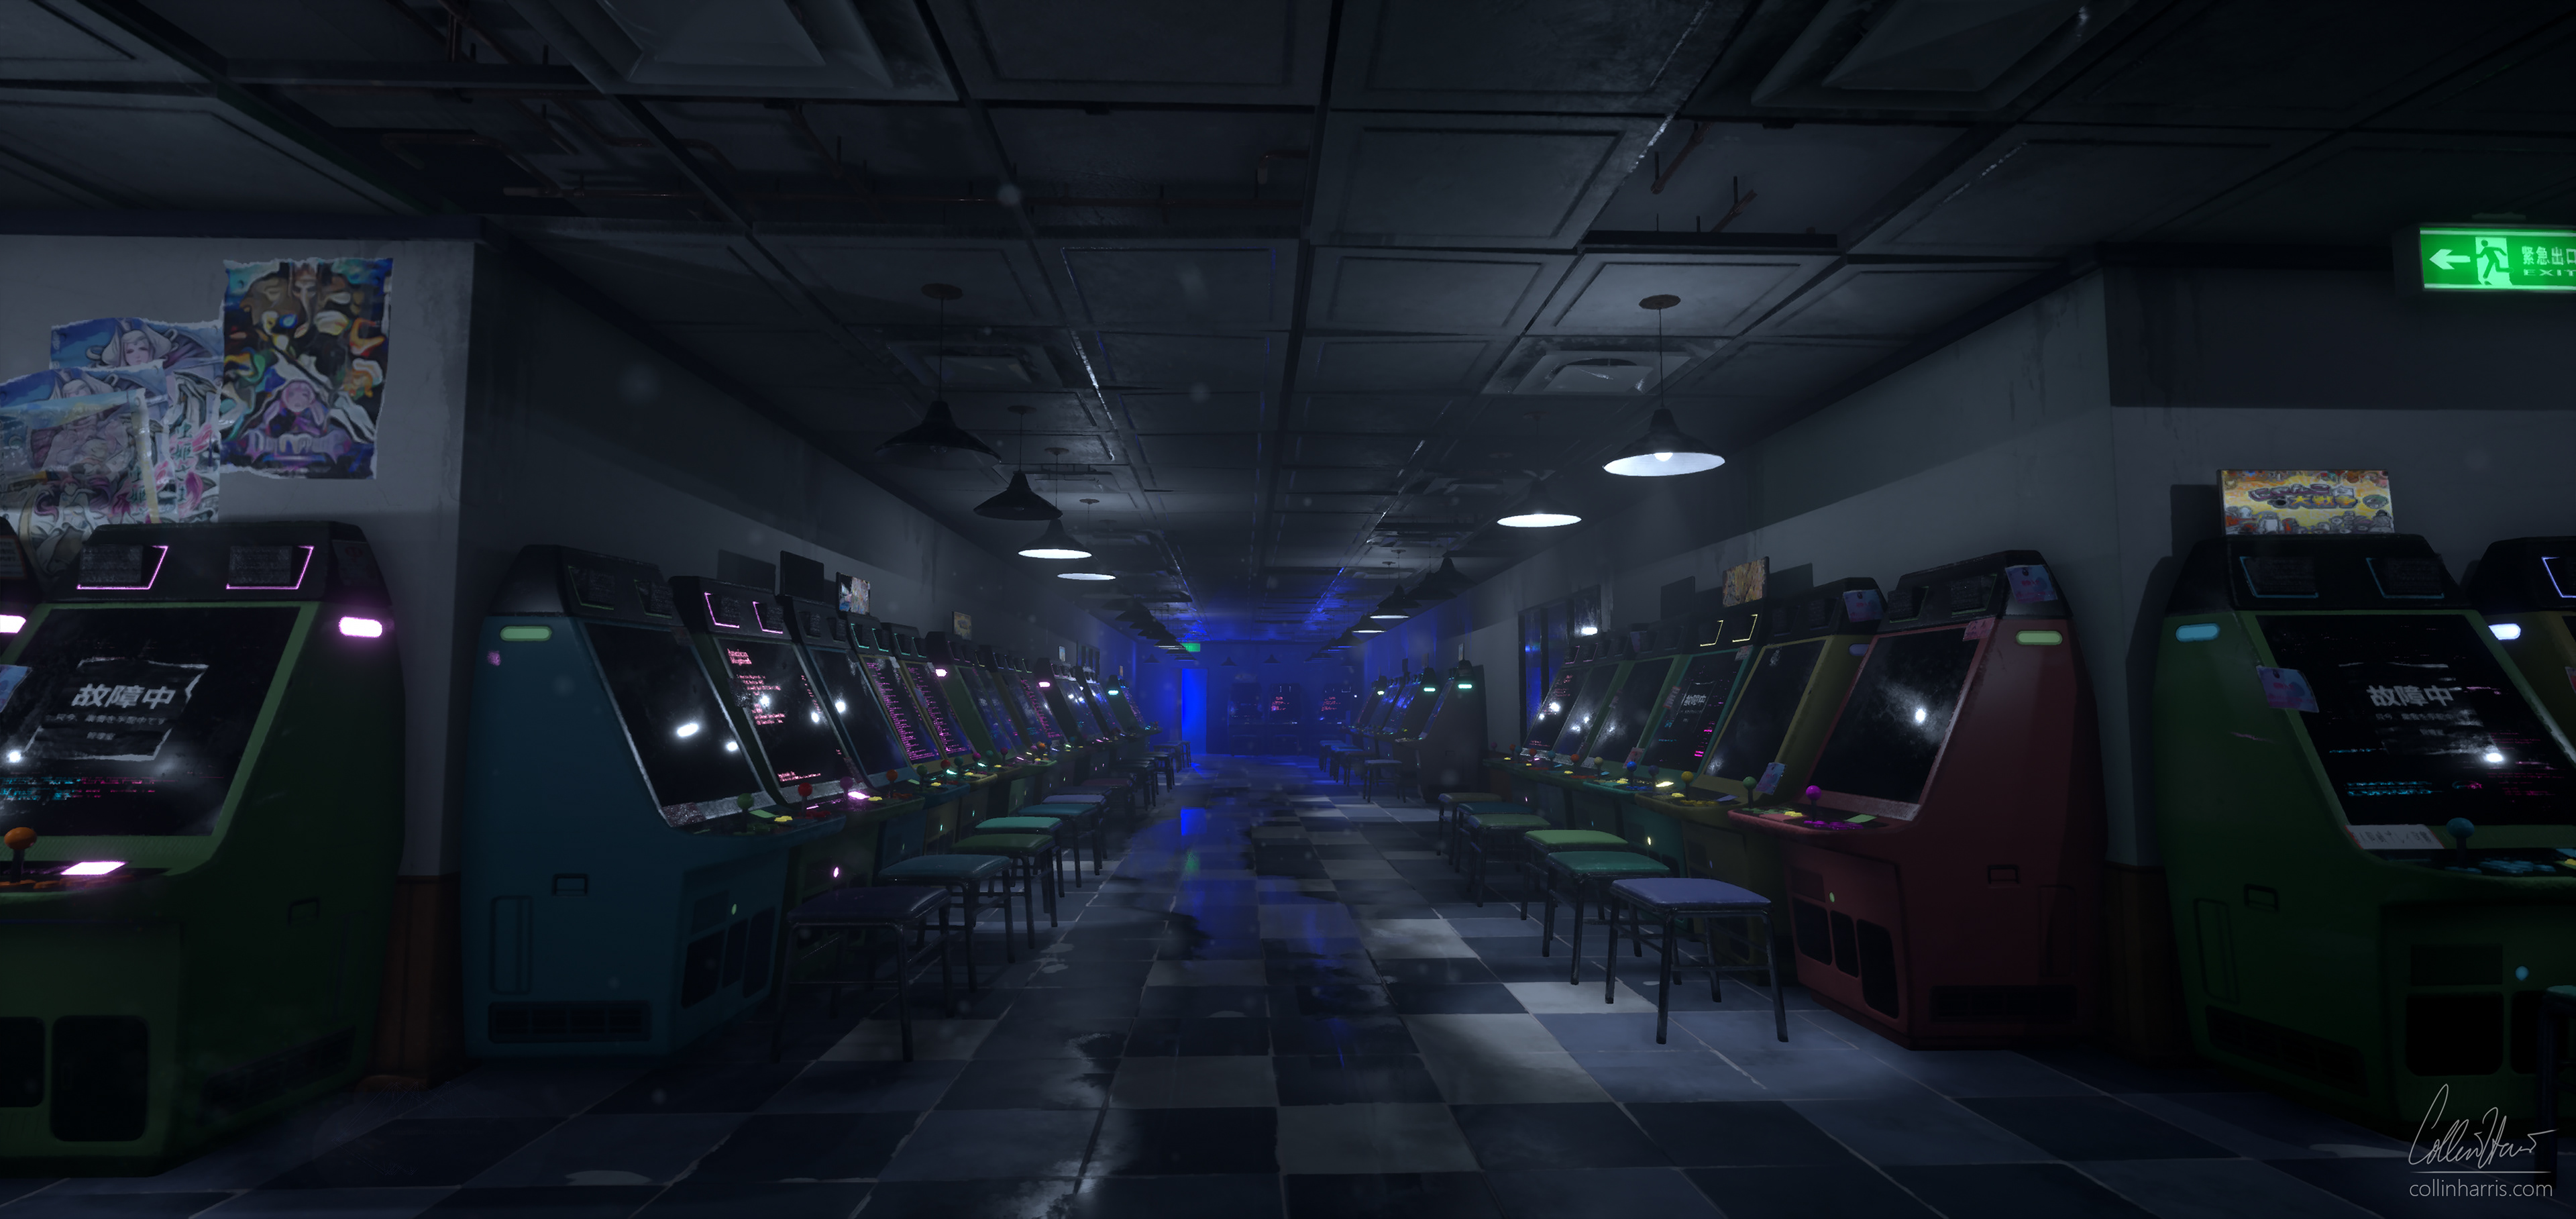
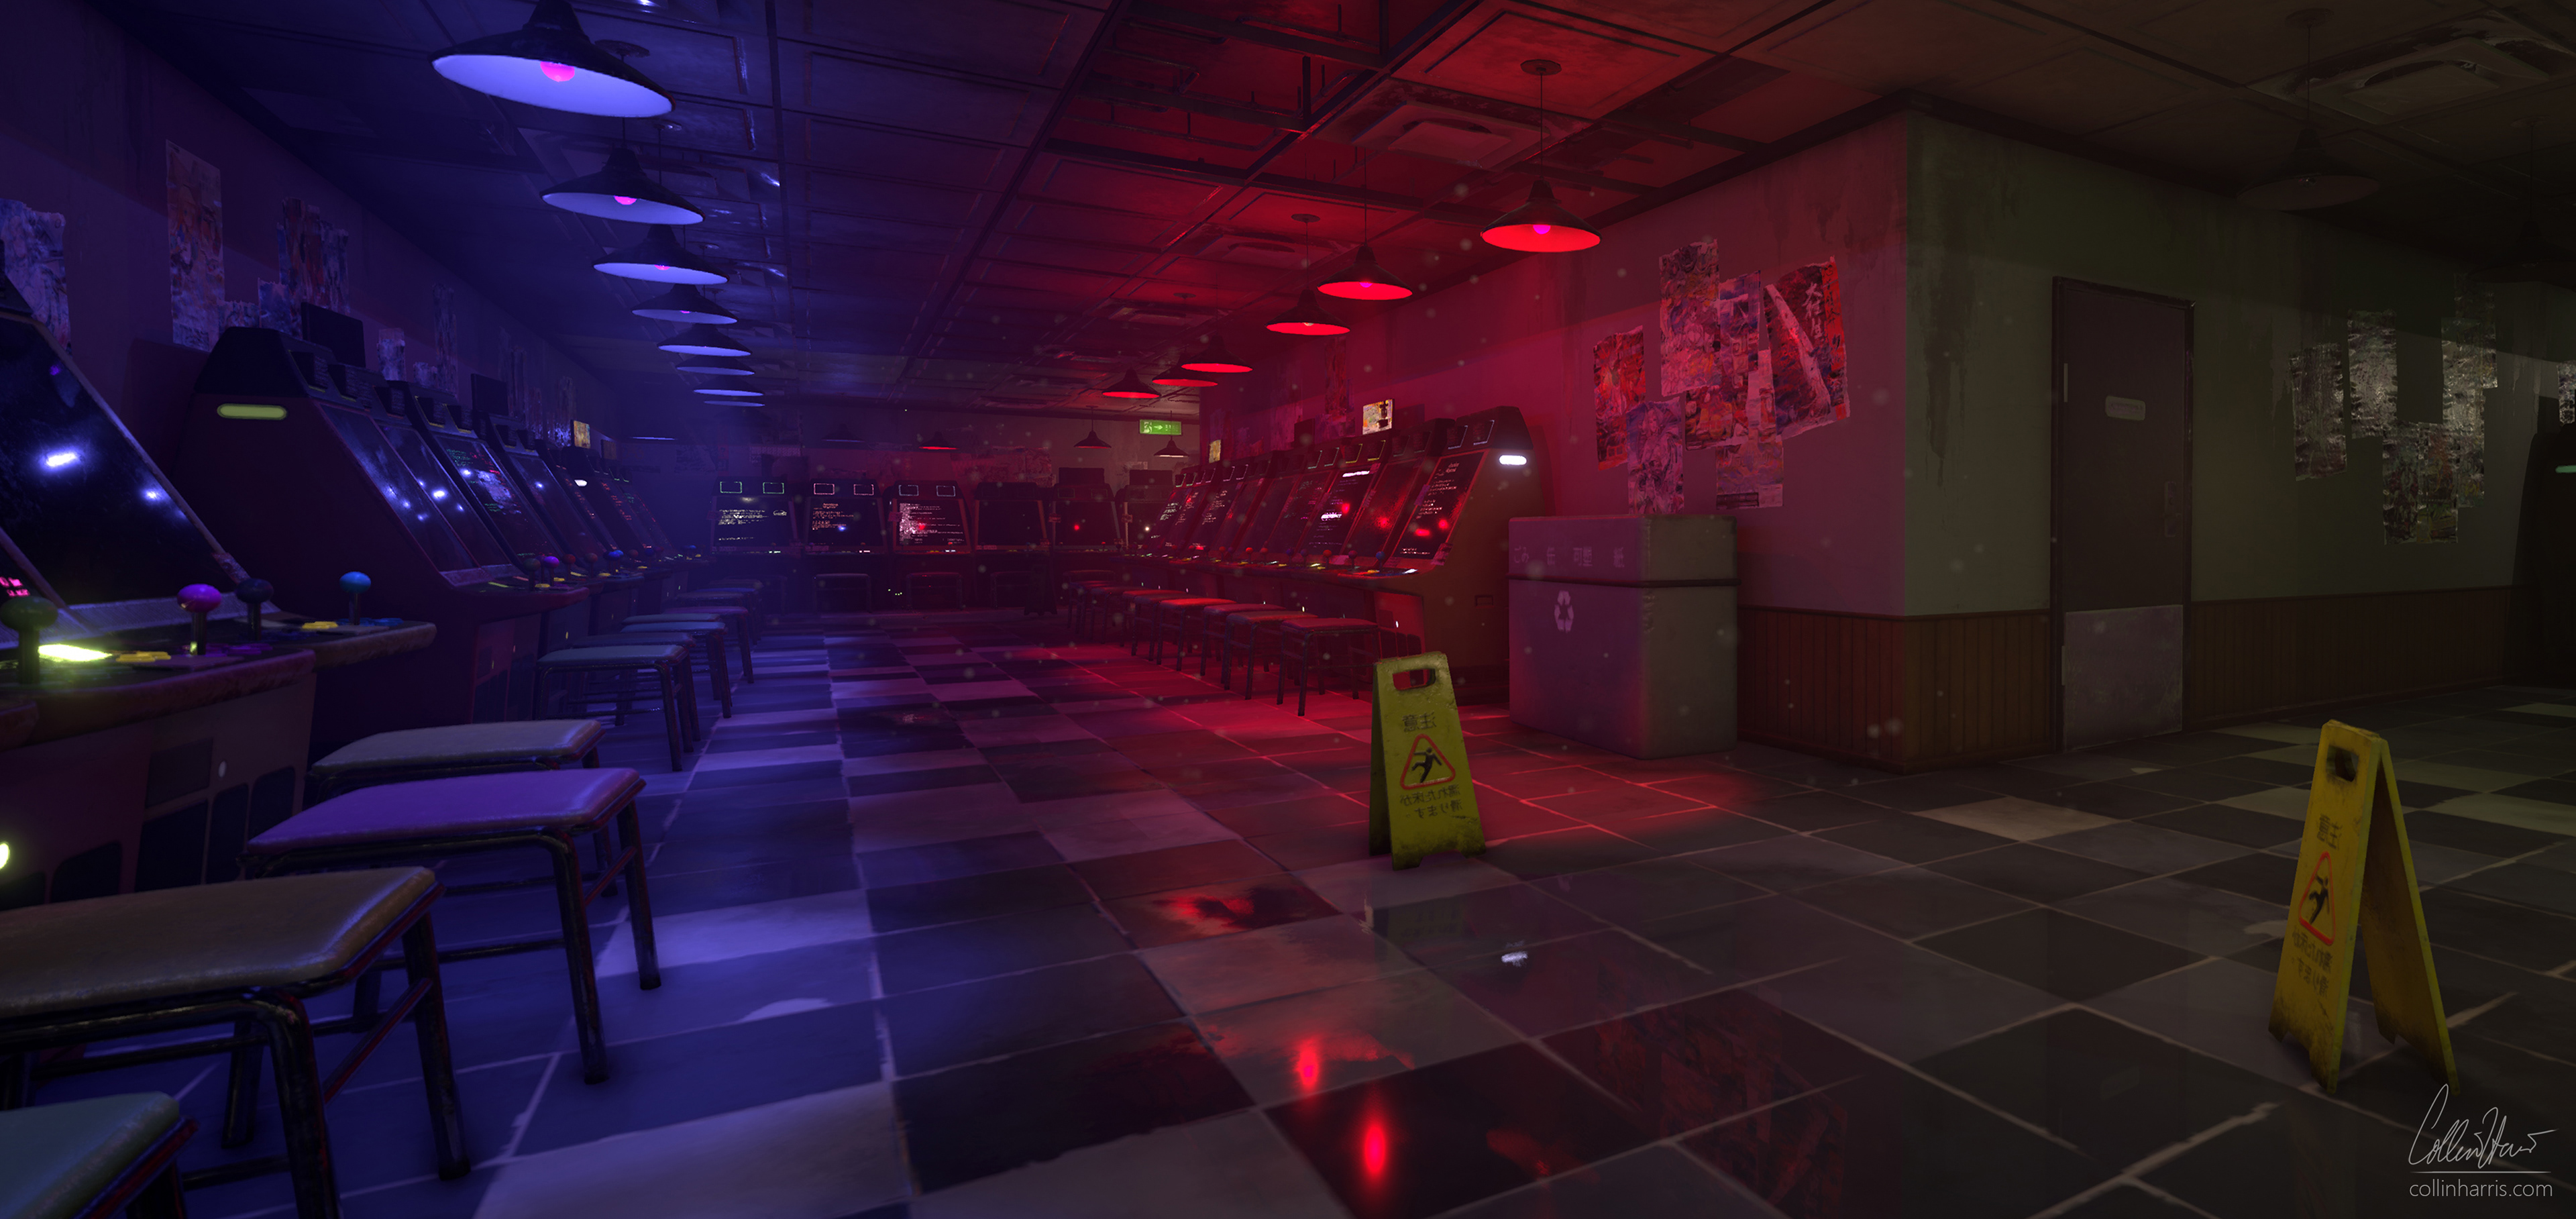
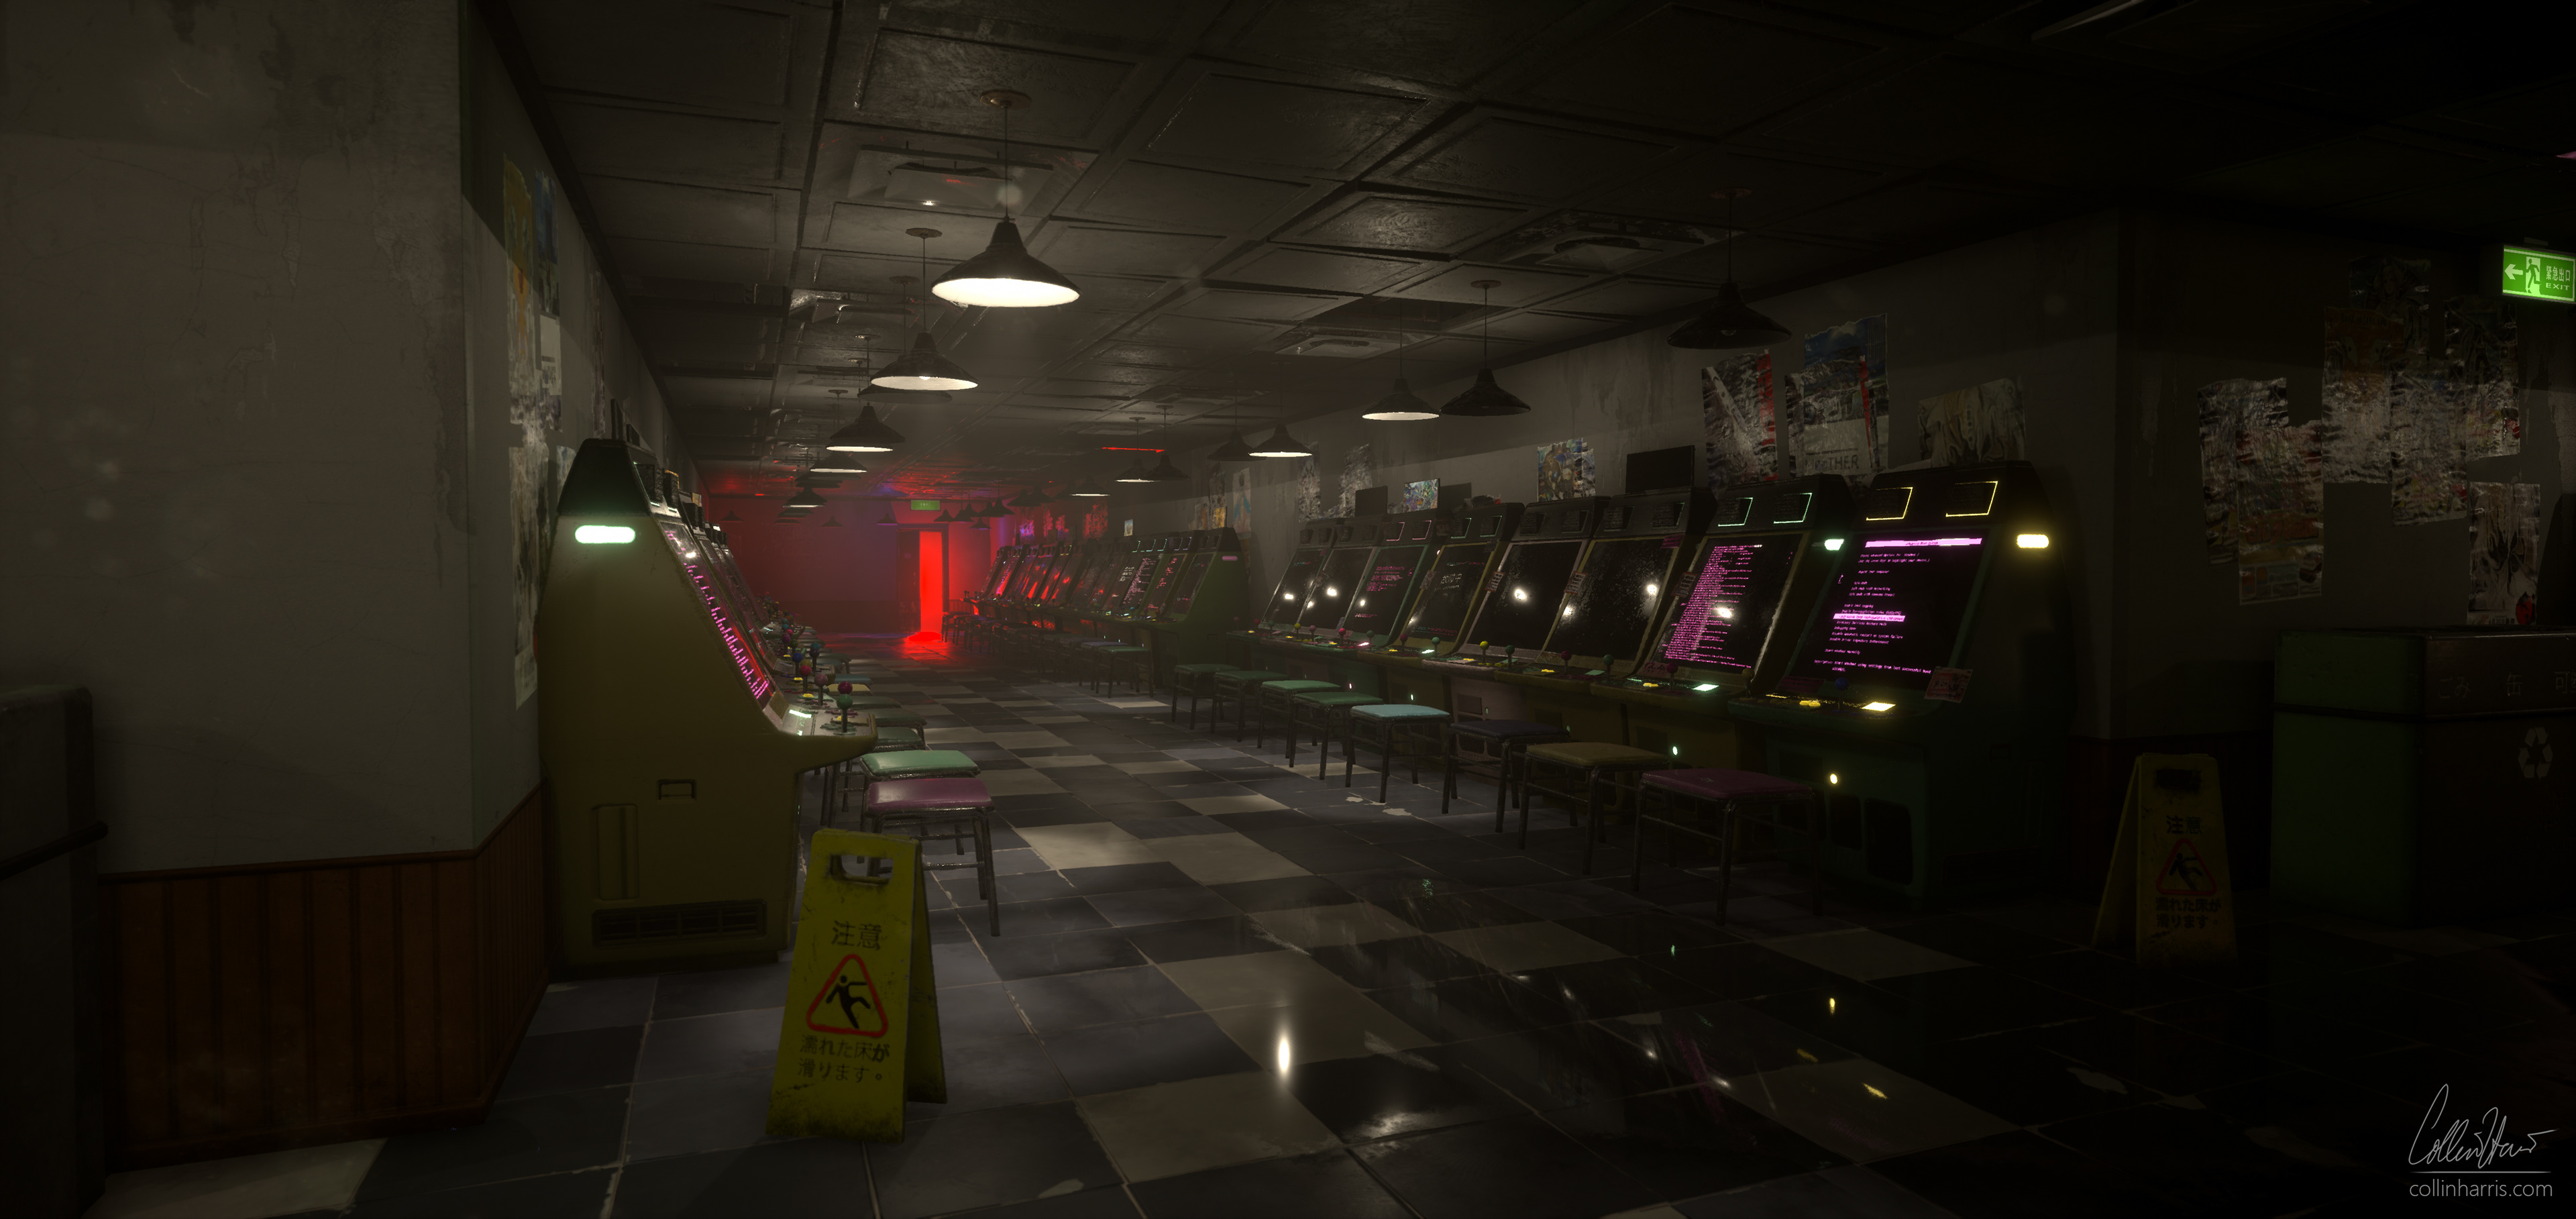
Hi there! Thanks for checking out my environment! All of the elements you see on this page were made by myself over the span of 3 weeks. The software I predominantly utilized for this project was Maya 2016, Substance Painter, Substance Designer, and Unreal Engine 4. Everything in the environment below was generated procedurally through the use of modular meshes, procedural materials, and basic blueprint logic. If you're interested in using any of these assets in your own projects, feel free to check out my Gumroad where I have this environment for download!
PROCEDURAL TILE BLUEPRINT
Everything in the environment is built off of one singular blueprint tile. All arcade cabinets, walls, props, lighting, and miscellaneous objects are spawned and placed based on a random seed dictated in the blueprint class. All of the spawn values are stored in a struct which allows local manipulations to any generated asset. I ended up making two variants of my tile, one that propagates during run time, and one that propagates during construction. The tile that propagates during run time is more costly, but allows for more flexibility during game play. The construction tile propagates all its props at execution, and because of that has no effect on frame rate. Below you can see the tiles updating at run time!
Below is a portion of the construction graph used for the procedural tile. Most of the graph on the left is generating all the values needed for generating each tile, while most of the graph on the right contains the logic for each element of the tile. (ie: not spawning posters over windows, or turning off lights if there are no fixtures)

Position Variance Materials
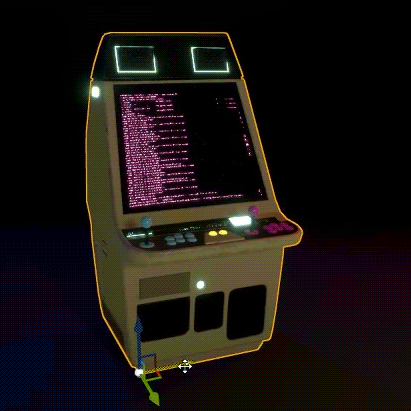
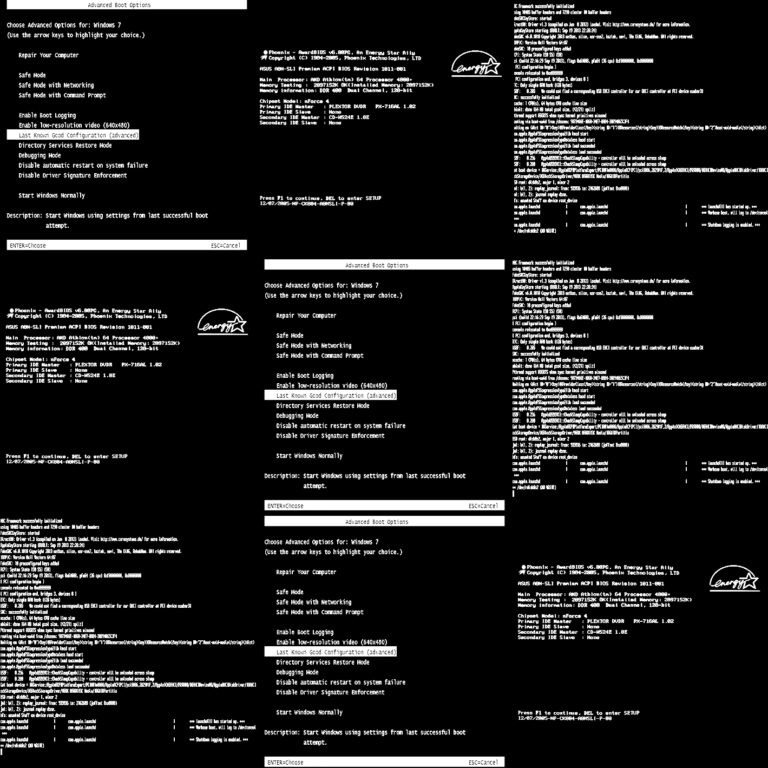
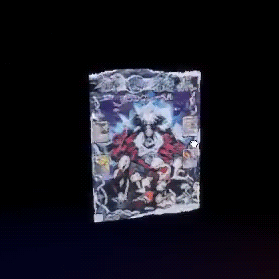
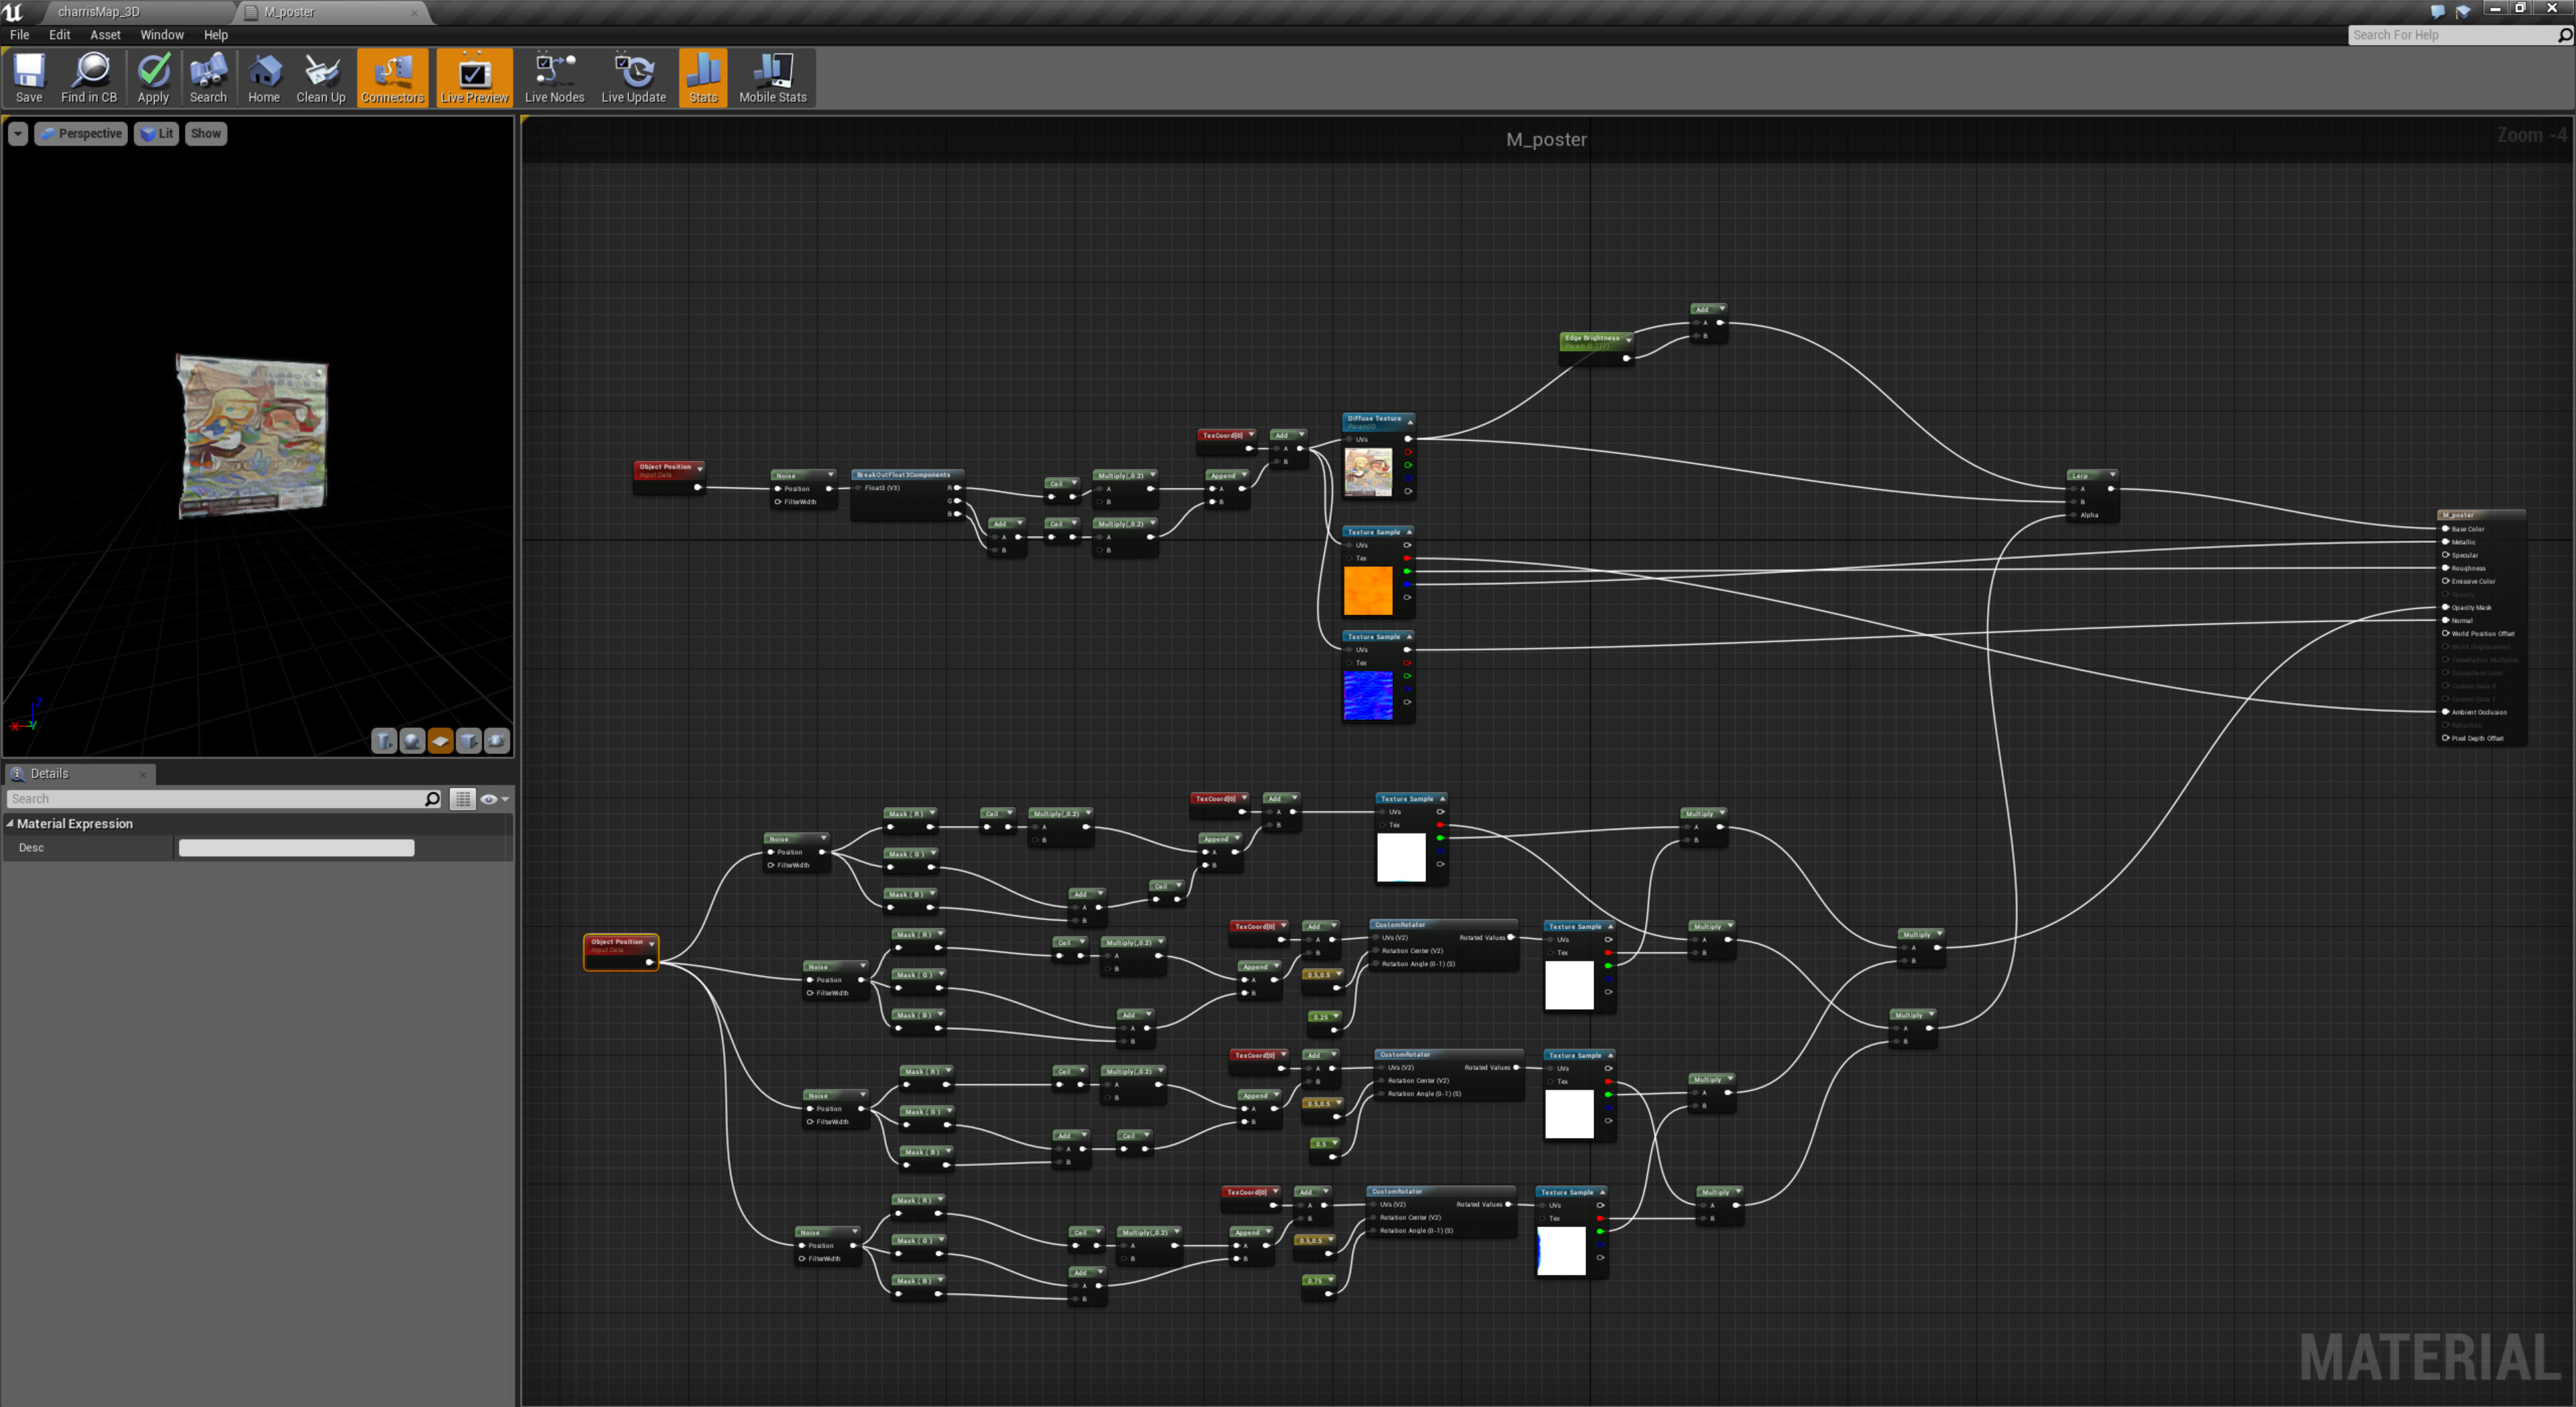
As I began working on this environment, I came across a problem. In order to output the level of texture variation I wanted in my scene, I would have to spend an inordinate amount of time creating and assigning a torrent of material instances. The solution to this problem, was the Object Position node. I set up a function that takes the object position of whatever mesh the material is assigned, and uses that value to randomly select a 1:1 UV from a tile sheet. With the function made, I was able to add a huge amount of variance to my assets with a single material. Below you can see the object variance function at work as I move around each object. On the left you can see the screen texture and color of my arcade machine randomly generate. The static image in the middle is the tile sheet texture I used to randomly generate the screen variance in the arcade. On the right you can see the poster diffuse and edge wear change as it moves. With these two materials I was able to populate my entire environment with just a handful of materials.
Arcade Screen Shader
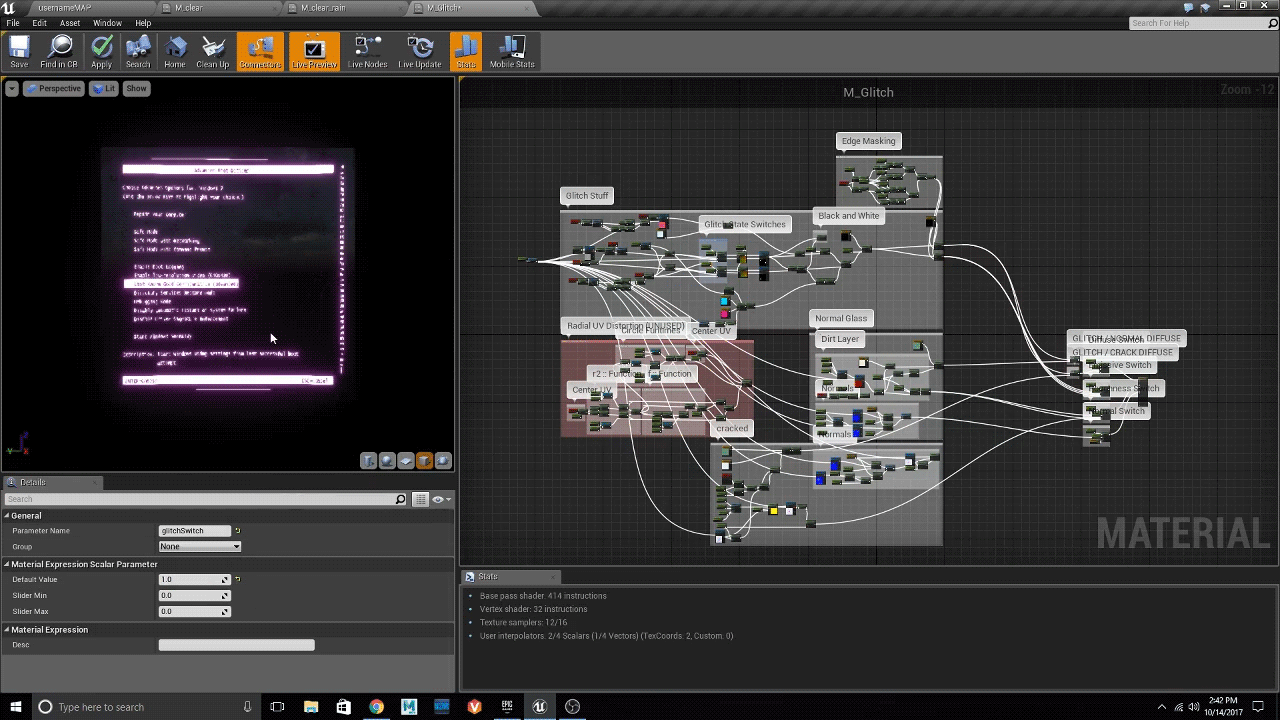
In addition to the Object Position Function that I described above, I wanted to implement a On / Off and Glitch state to my arcade screen material, without resorting to swapping out dynamic materials. To solve this, I made some rudimentary switches in my material using the IF statement. This allowed the modpiece blueprint to communicate and switch the screen material using a basic scalar value.
Beauty Shots